Let's start.
REQUIREMENTS.
REQUIREMENTS.
- Cointellect account (If you don't have, register HERE)
- The VPS
1. Create the VPS.
- Go here LINK
Go to "Cloud VPS"

- Register and confirm your account. (Use your PayPal email if you want to pay with paypal.)
- Create your VPS following this instruction

- The Slices must be only 1 if you want pay 0,01$
- The Image (OS) must be "Debian"
- The Version must be "7.0 minimal 64bit"
- The coupon must be "pennyvps" if you want pay 0,01$ - Continue and pay 0.01$
- You'll recive an email with the infos of the VPS (there's instruction on email of how to connect)
- 1 paypal account just allowed to make 1 vps account
2. Setup VPS for mining
- Connect to VPS and login
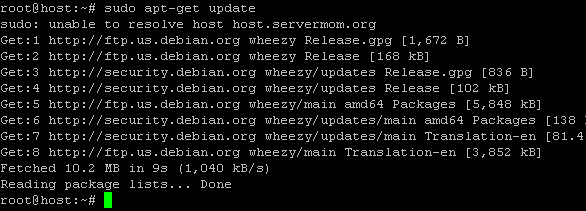
- Do this 4 commands to update your VPS:
- "apt-get update "
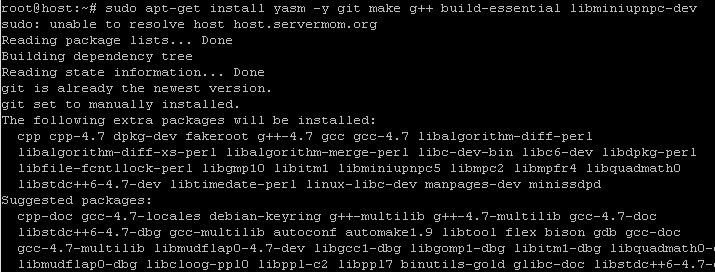
- "apt-get install yasm -y git make g++ build-essential libminiupnpc-dev "
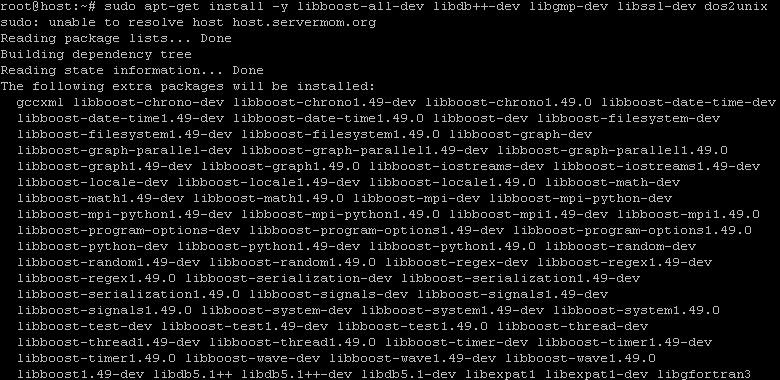
- "apt-get install -y libboost-all-dev libdb++-dev libgmp-dev libssl-dev dos2unix " (this a quite bit long, so wait for it)
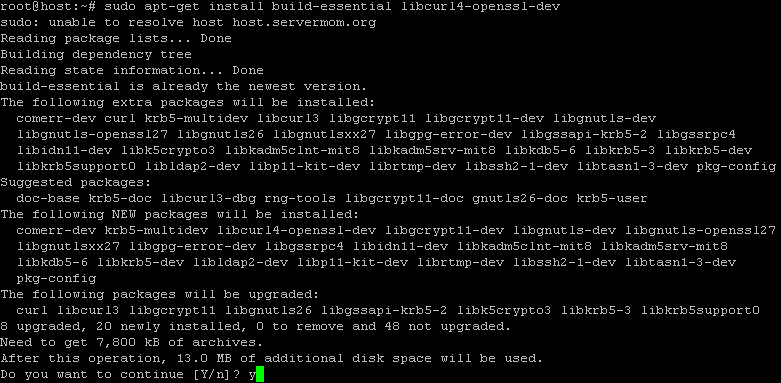
- "apt-get install build-essential libcurl4-openssl-dev "
- Do this command to let the VPS online 24/7
- "screen " . Now you can close Putty. When you open Putty again type: "screen -r " to resume the work!
- Does not work? Try this command: "apt-get install screen " and then try again with "screen " - Do this command to download the cpuminer:
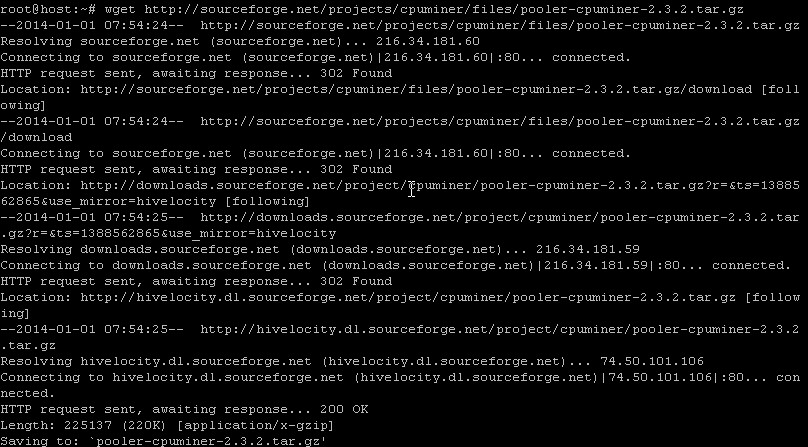
- "wget http://sourceforge.net/projects/cpuminer/files/pooler-cpuminer-2.4.tar.gz "
Tip: I noticed that the v2.4 does not make me appear "yay!". So, try with the v2.3.2, you've only to change 2.4 in 2.3.2 where it is present)
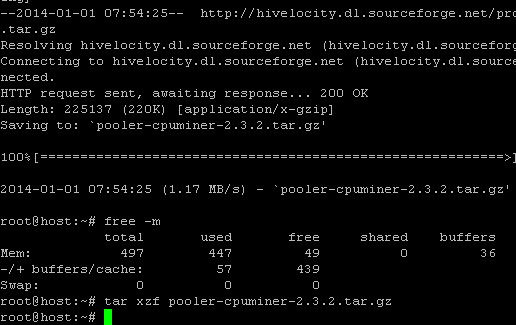
- Do this command to open the cpuminer
- "tar xzf pooler-cpuminer-2.4.tar.gz " Remember that if you use v2.3.2 you have to change the command as "[...]cpuminer-2.3.2.tar.gz"
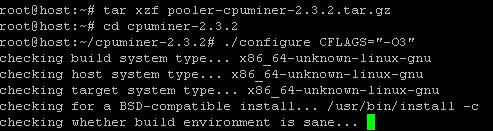
- Do this command to place in the directory of the cpuminer
- "cd cpuminer-2.4 "Remember that if you use v2.3.2 you have to change the command as "cd cpuminer-2.3.2"
- Do this command to configure the miner
- "./configure CFLAGS="-O3 " (Attention: in "-O3" is the vocal "o" not 0.)
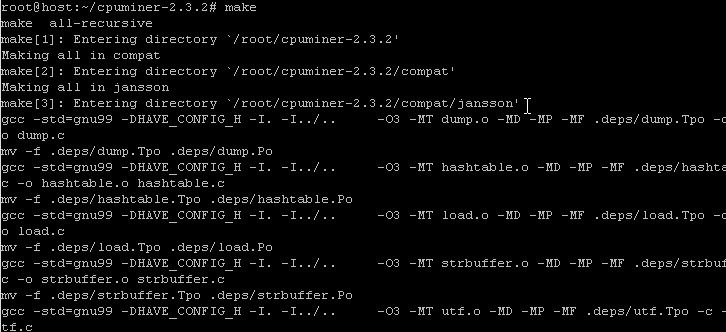
- Do this command to open the miner
- "make "
- Do this command to connect and start mining (Here you can find some extra infos)
- "./minerd --url=stratum+tcp://66.55.92.73:8000 -p 123 -u YOUR-AUTH-CODE-HERE" "
- Example: "./minerd --url=stratum+tpc://66.55.92.73:8000 -p 123 -u abcdef0123456789 "
- Enjoy your earnings!
!-F.A.Q. - PLEASE CHECK THIS BEFORE PM ME IF YOU HAVE ANY PROBLEM -!
Can I connect multiple machines on my cointellect account?
Of course you can. They'll gain more if you add other machines.So, more gain for they = more gain for you
How long I've paid the VPS? Can i make more?
The VPS is monthly, so you pay 0,01$ for 1 month.The "pennyvps" and others coupon are only for new members.. but you can exploit it by using different email (different paypal too).
"Sudo command not found" how to fix?
Your vps say:"
- Digit all the command without "sudo". Or:
- Reinstall OS.
Screen does not work!
For manually install "screen" command use this command:"
Where I can find my auth code?
- Go to "Download" page on CoinTellect
- Scroll down it all and click on "ASIC setup guide"
- Or more easily click here
Minerd command seems have trubble...
Try to add "--algo=scrypt" at the ./minerd command:Example: "
Connection failed?
Seems that the pool has a problem. I don't own the pool. So, the only way to fix this is: WAIT. They'll come back online the pool
source


